Doing a 2003 5.7 hemi to 392 stroker build, and as I enjoy technical threads a lot on this forum, tought it was my time to participate. Will try and keep this thread updated as the build goes along.
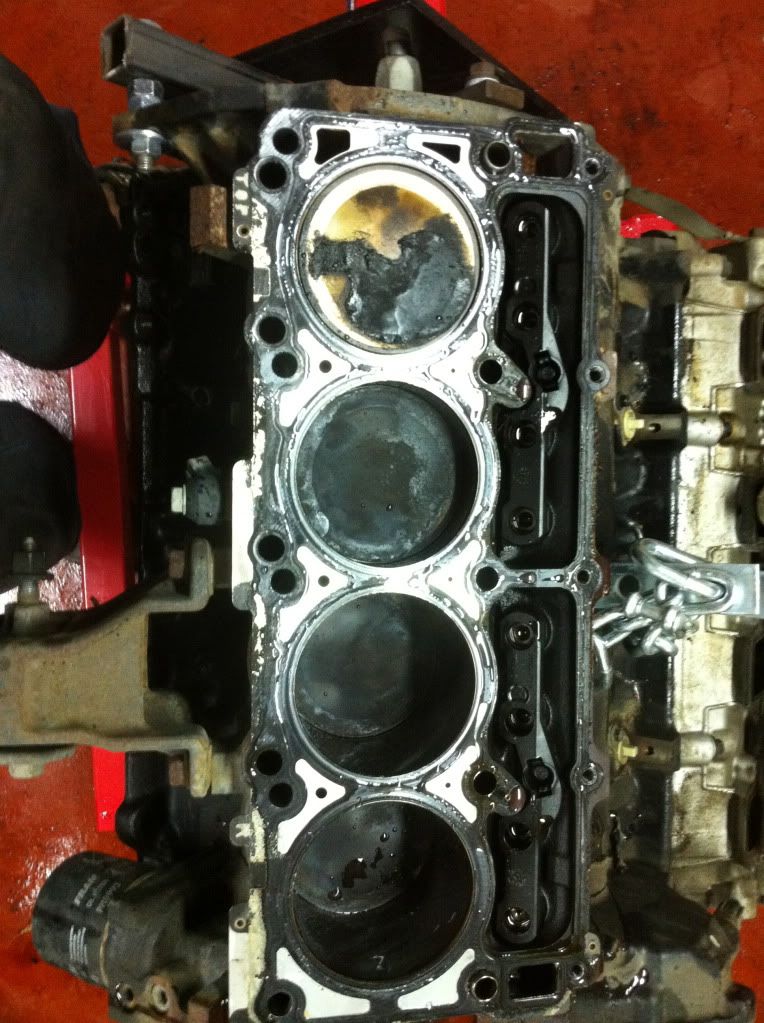
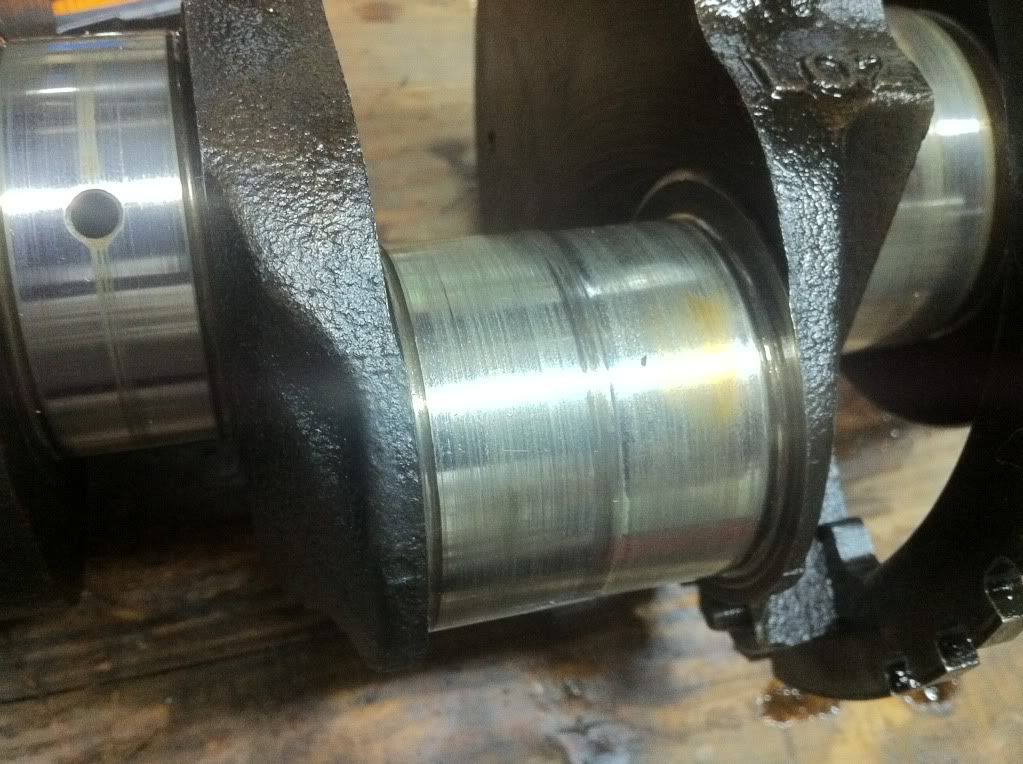
History of the motor, 2003 5.7 hemi wich had a serious powerloss (0-60 in 11 sec) brought it in to a dealer and he found bad compression on 2 cyl and a rod bearing had spun damaging the rod and the crank. Weighed my options, second hand block you never know what you get, new block would be stupid expensive for me (I live in Belgium) so a stroker it is! Added power will be pretty cool but the rebuilding itself is half the fun for me!
Will be doing all the work myself except for the machining, so any and all tips, critique,... are very much welcome.
Have been in contact with Inertia and Stu has been superhelpfull so will definately order my parts with him, holding of on the order untill the block is stripped down, bores checked for damage,...
Anyway on to the pic:
![Image]()
Ready to pull the block, truck also runs on LPG (wich i think you guys call propane??) so there is a lot of extra wiring wich is not in the manual so am taking my time labeling everything to make reinstall easy.
![Image]()
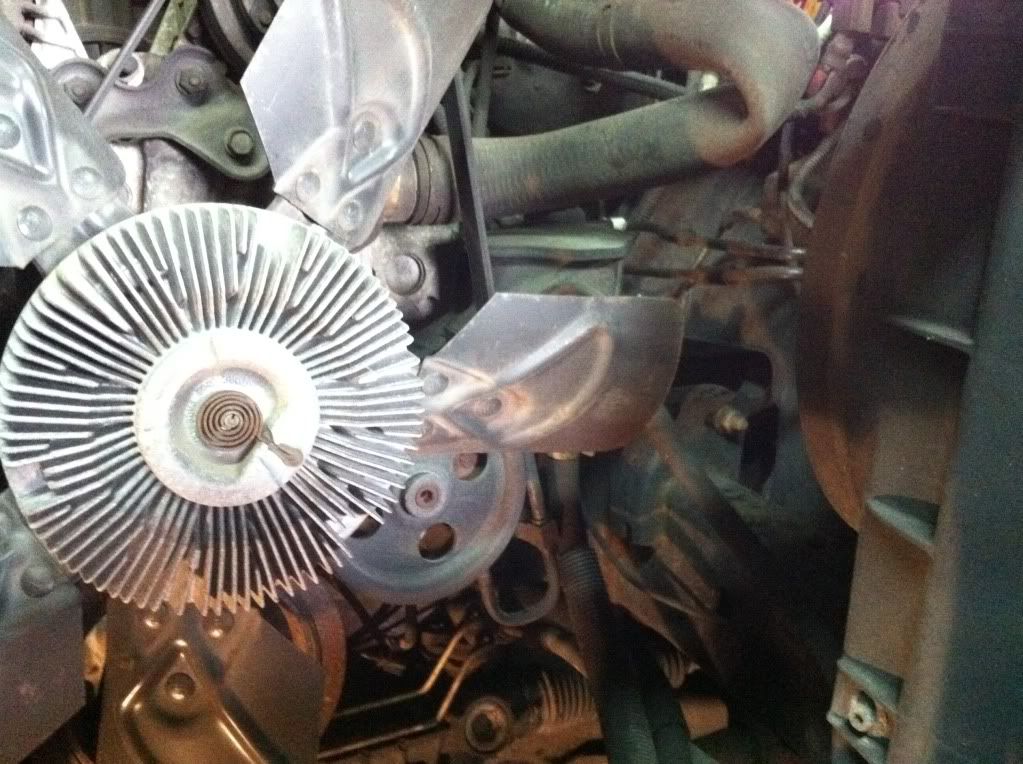
Pretty uneventfull till now, only problem found is on of the fan blades bent? What do you guys suggest, just whack it back in to shape with a BFH, replace or upgrade to electricall fan?
![Image]()
History of the motor, 2003 5.7 hemi wich had a serious powerloss (0-60 in 11 sec) brought it in to a dealer and he found bad compression on 2 cyl and a rod bearing had spun damaging the rod and the crank. Weighed my options, second hand block you never know what you get, new block would be stupid expensive for me (I live in Belgium) so a stroker it is! Added power will be pretty cool but the rebuilding itself is half the fun for me!
Will be doing all the work myself except for the machining, so any and all tips, critique,... are very much welcome.
Have been in contact with Inertia and Stu has been superhelpfull so will definately order my parts with him, holding of on the order untill the block is stripped down, bores checked for damage,...
Anyway on to the pic:
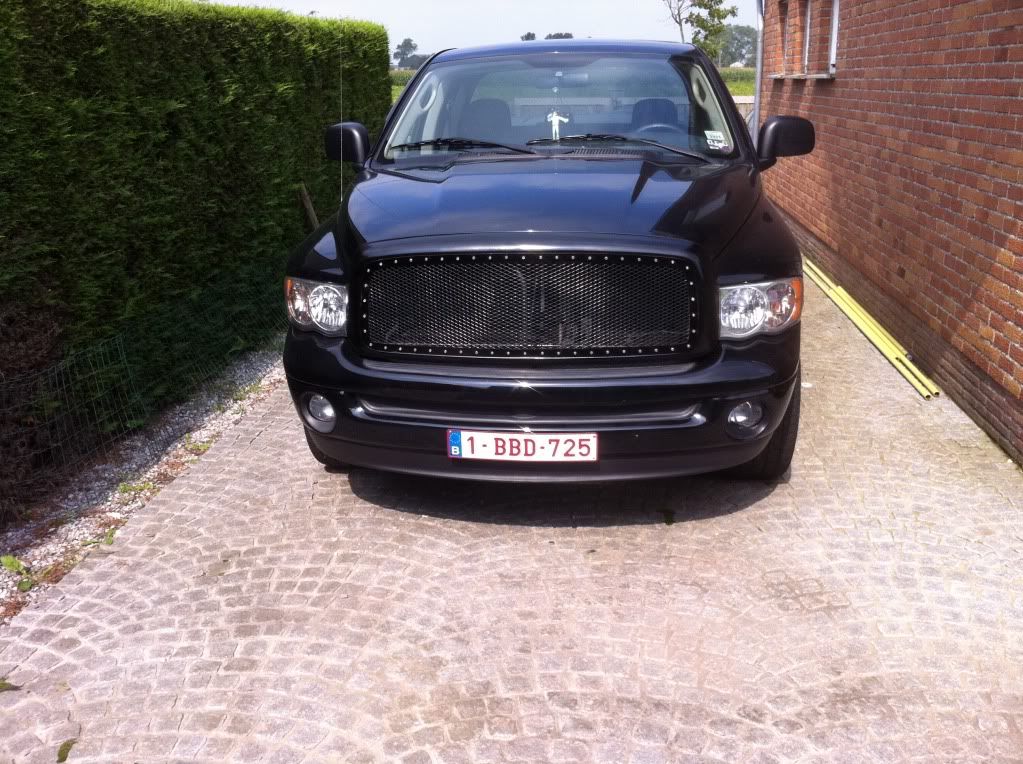
Ready to pull the block, truck also runs on LPG (wich i think you guys call propane??) so there is a lot of extra wiring wich is not in the manual so am taking my time labeling everything to make reinstall easy.

Pretty uneventfull till now, only problem found is on of the fan blades bent? What do you guys suggest, just whack it back in to shape with a BFH, replace or upgrade to electricall fan?
 with a large screw driver and promptly broke the 3rd bolt tab in half wich is hidden in the back.